

The first thing I had to do with this van conversion was to clean then van – thoroughly. After being a working van for nearly a decade, there was dirt everywhere, and what I began with was this:
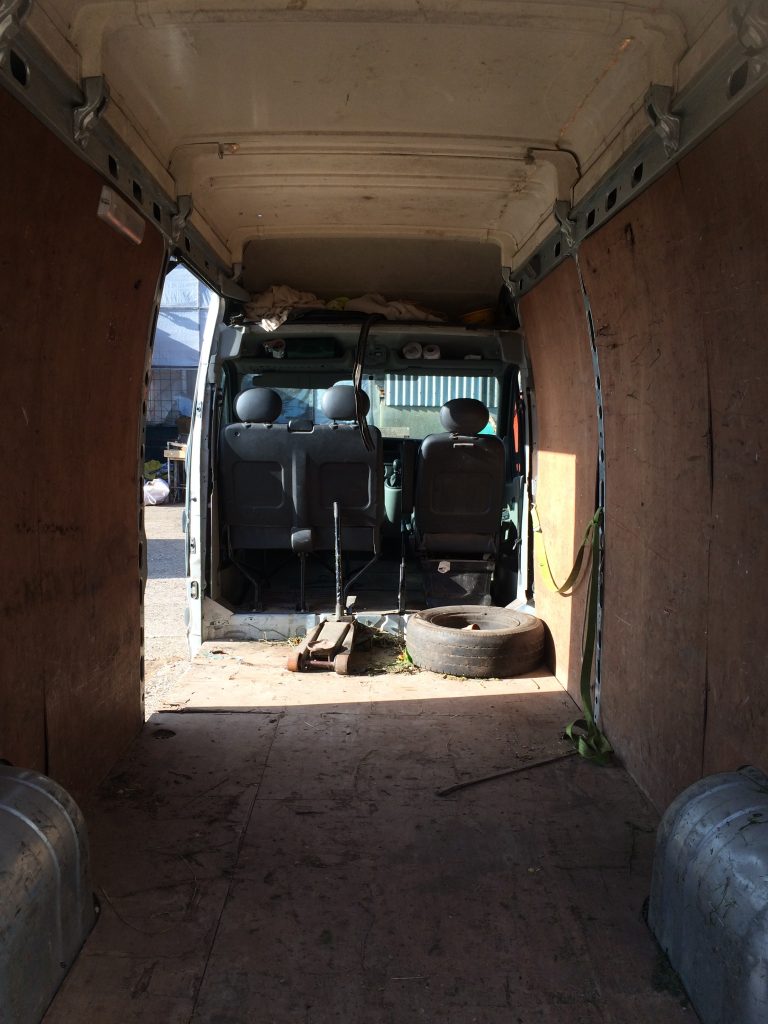
[Check out the full post, Meet the Donkey to see the van I started with]
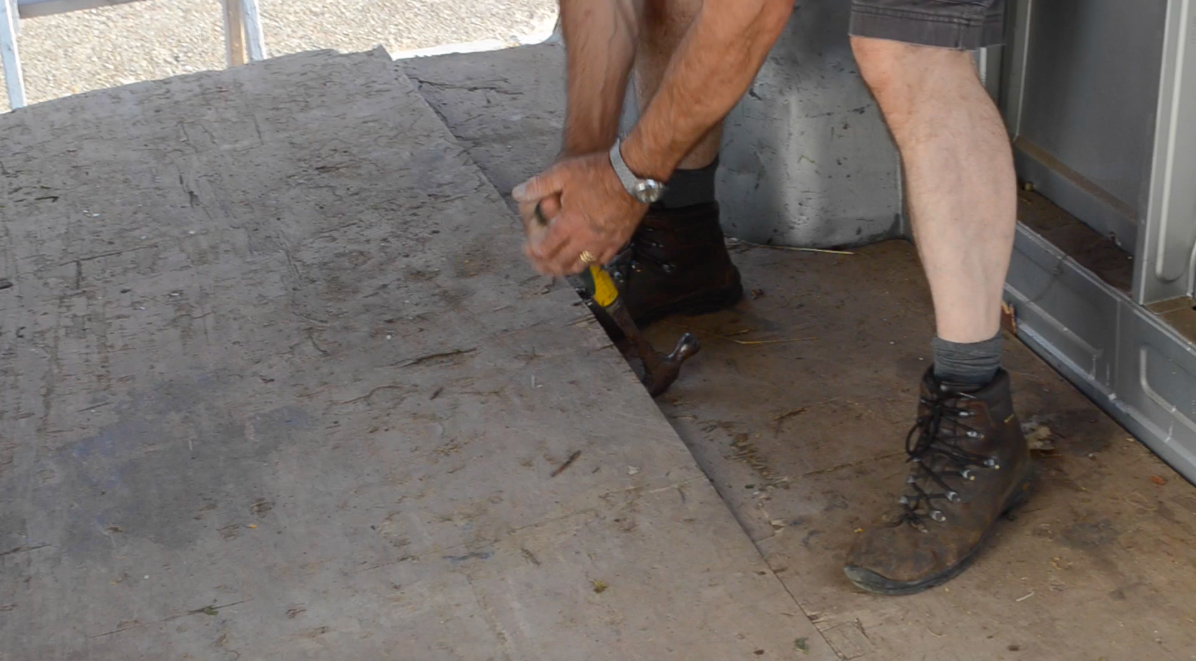
I began by ripping off all of the ply panelling. It was pretty simple – just get a hammer and pull off all the wood.
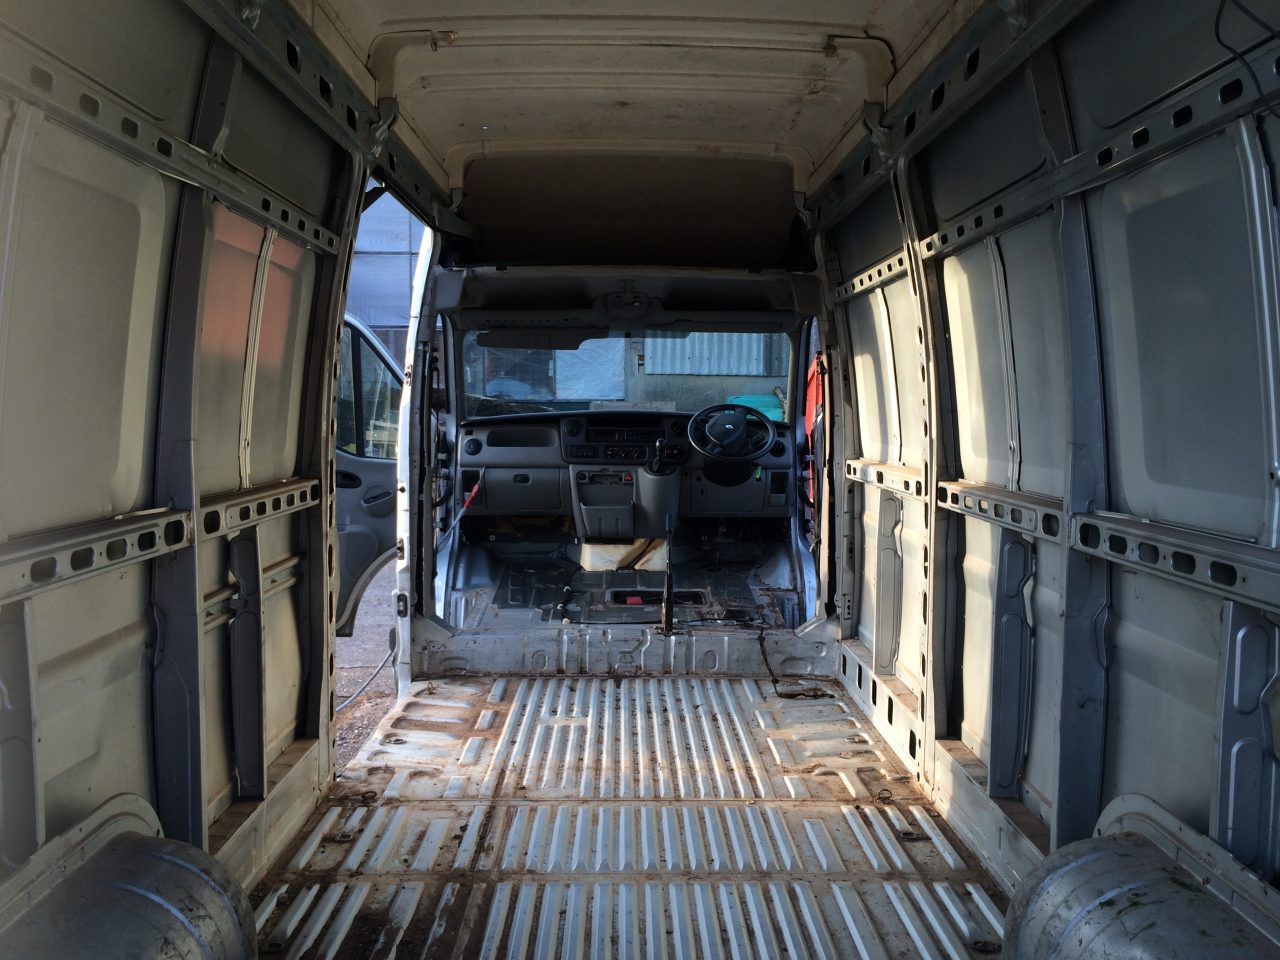
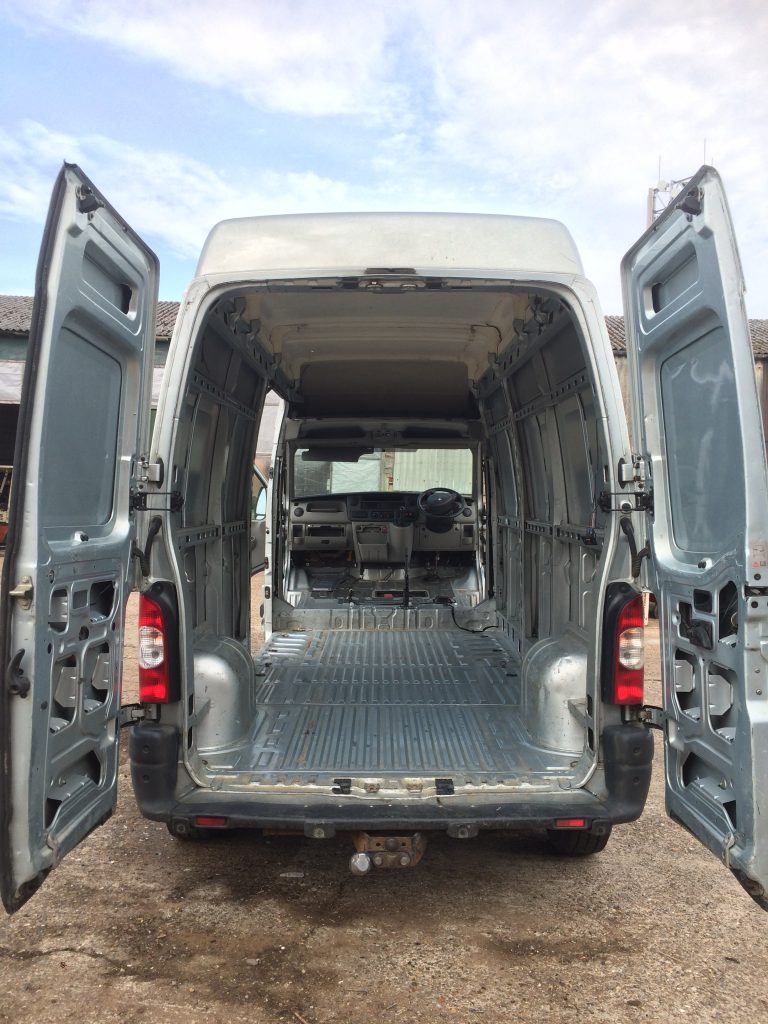
With all of the ply removed, I was left with a shell to work with. There was dirt everywhere, but the body of the van was in decent condition which meant a lot less work than I anticipated in terms of fixing rust and repairing holes.
Next up I removed the front (only) seats which were attached by bolts and only needed to be undone with a ratchet. This allowed me to get to the plastic moulding that covered the floor at the front of the van. As this has never been lifted, I decided that I would pull it up and see what was underneath.
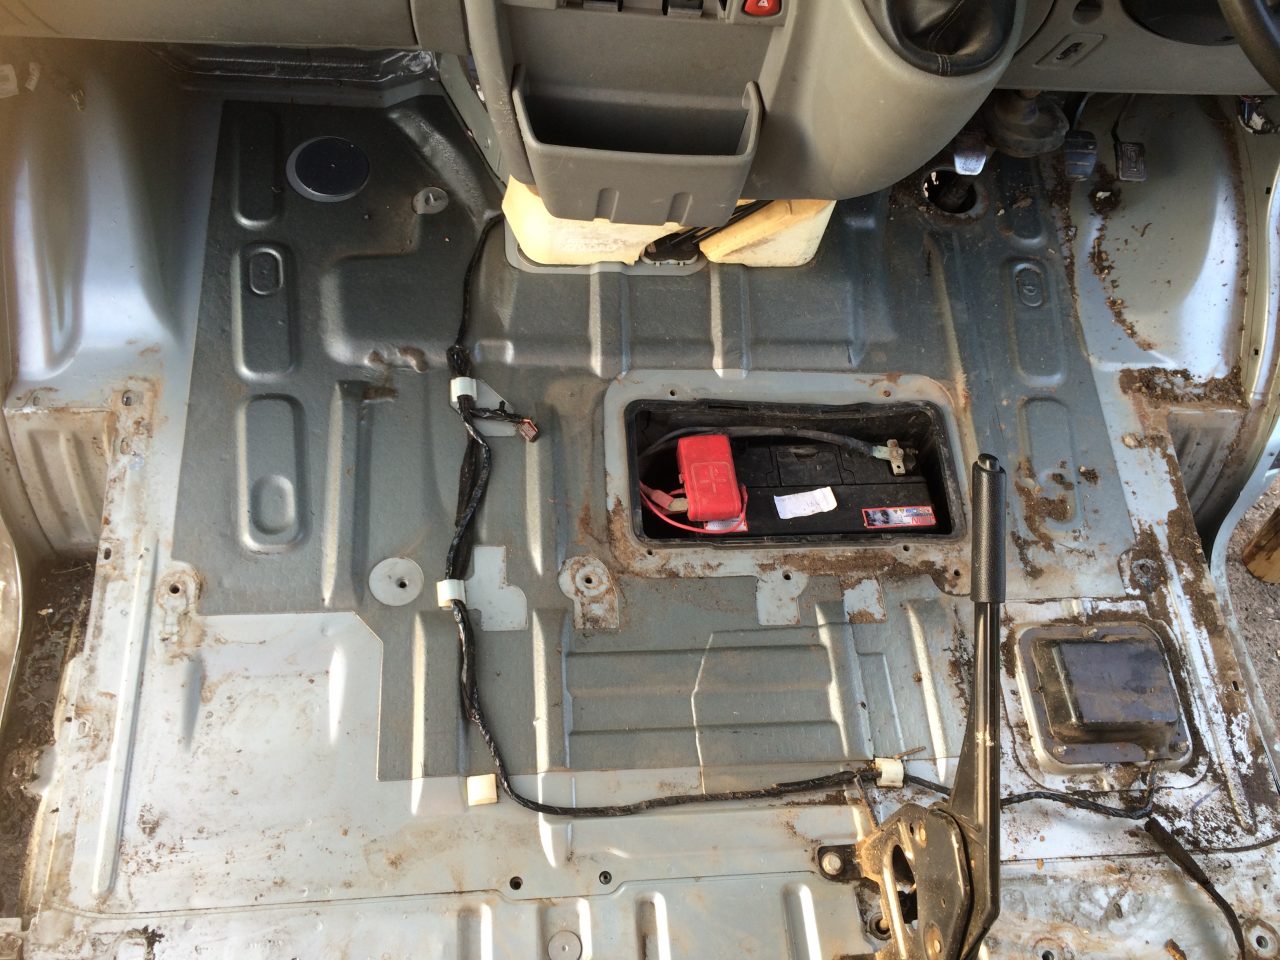
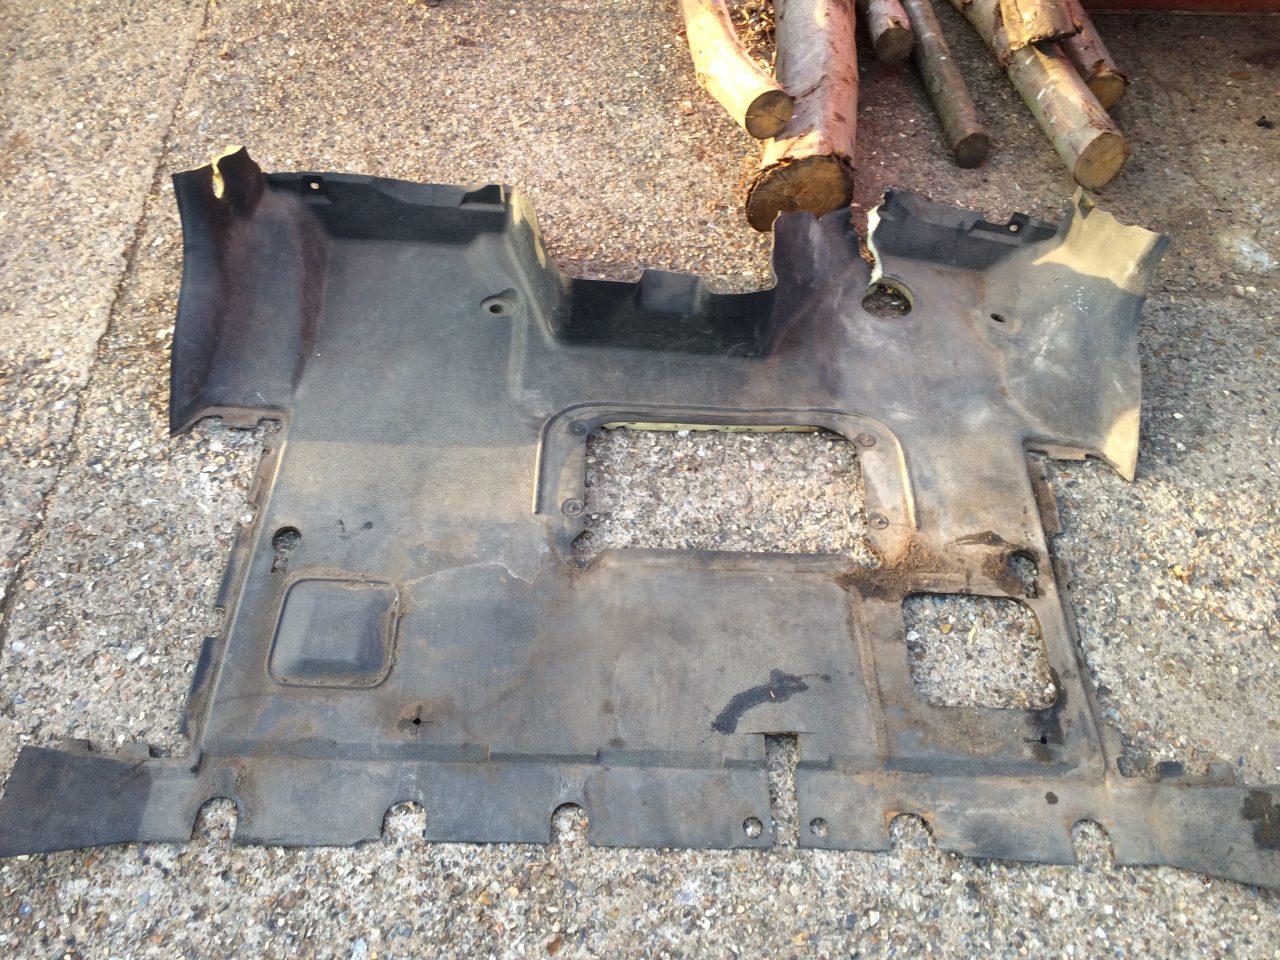
It turned out the plastic floor was pretty dirty and that the foam attached to it had got wet and never been able to dry. I imagined that this would cause the van to smell (because it didn’t smell great when I started) and that the moisture held in the foam would cause the floor to rust, so I chucked it out. I’m not sure what to do about the floor right now, but I will figure that out later.
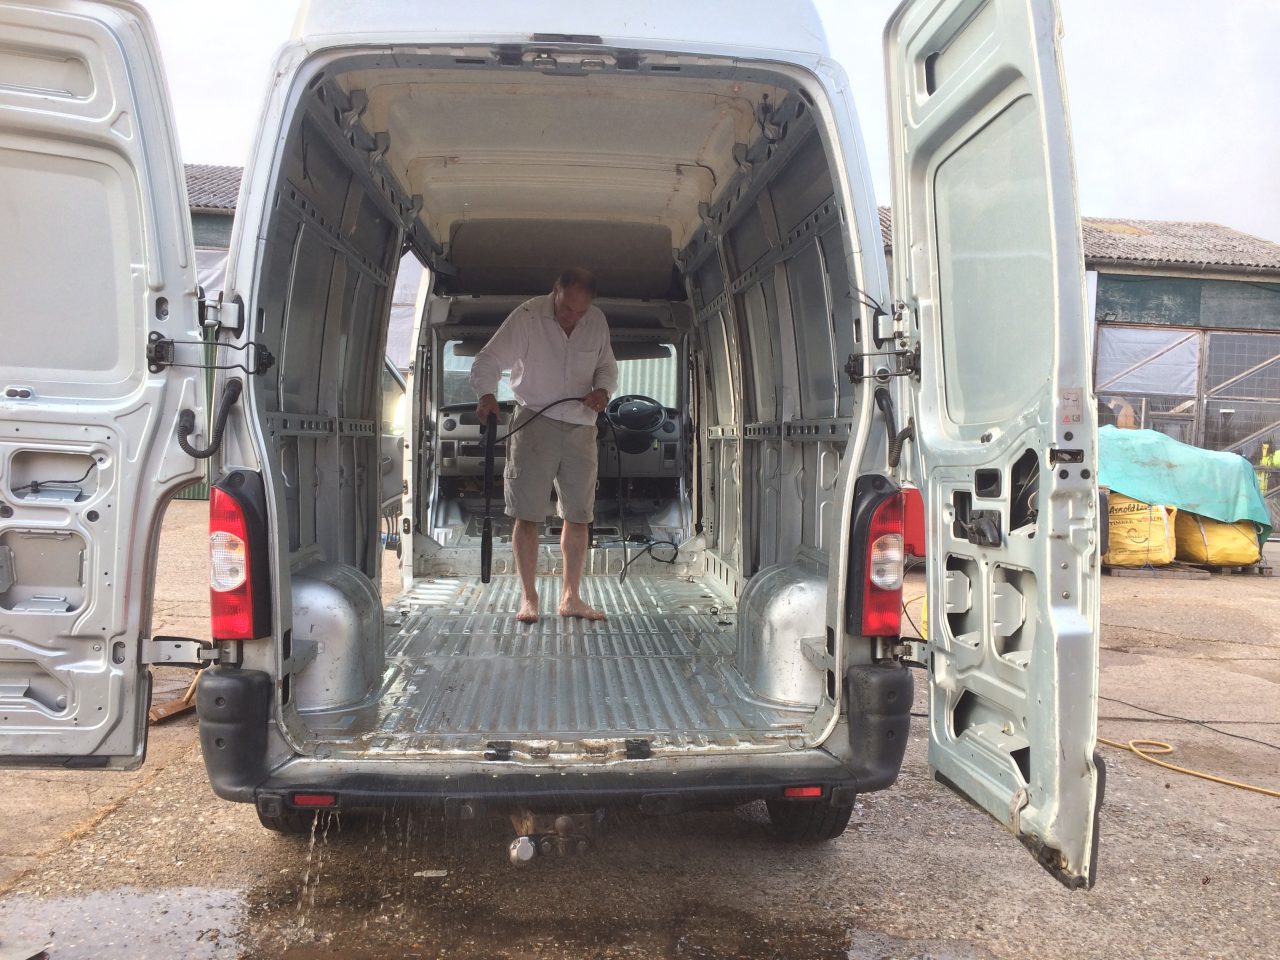
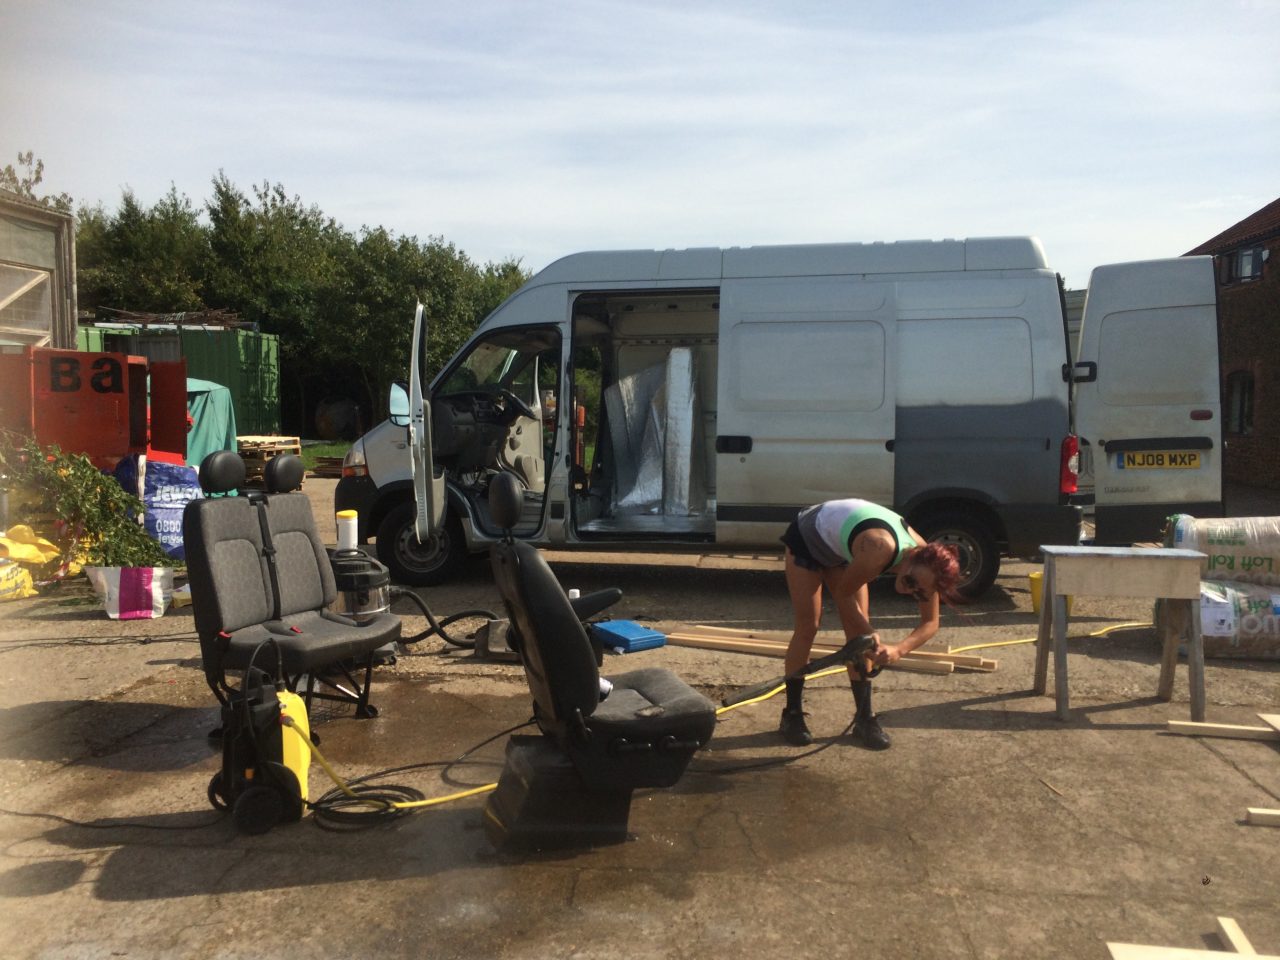
Next up I took a broom, an air hose, and a pressure washer. I swept, blew, and hosed as much dirt out of the van as I could, working on every part – the floors, walls, ceiling, and cab. At this point I had my dad kindly help me for a couple of evenings which greatly reduced the workload.
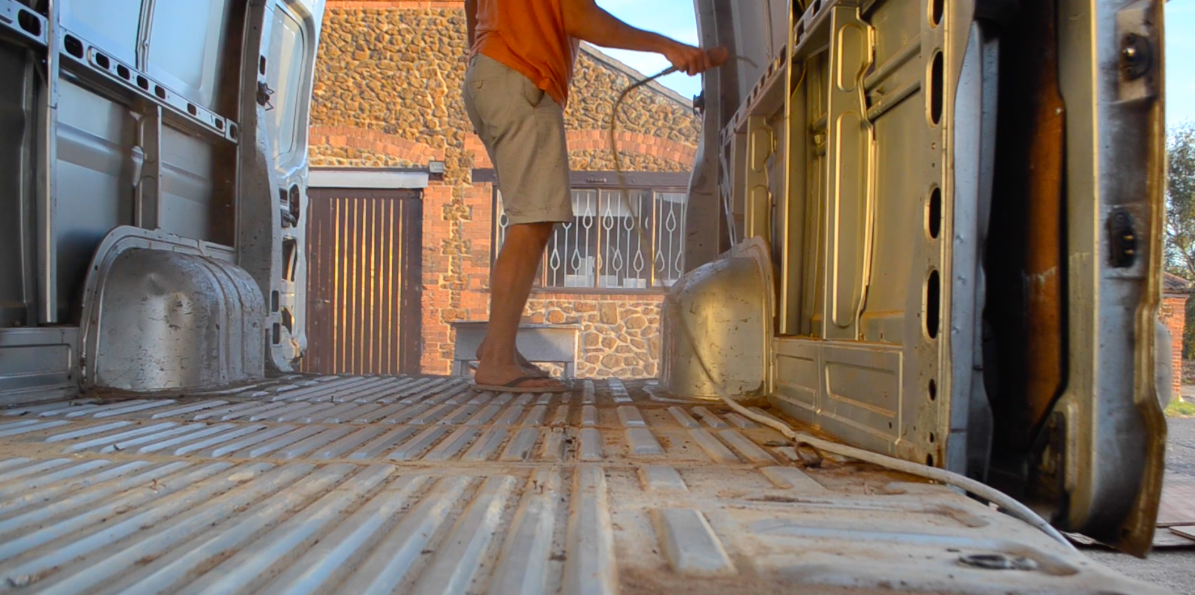
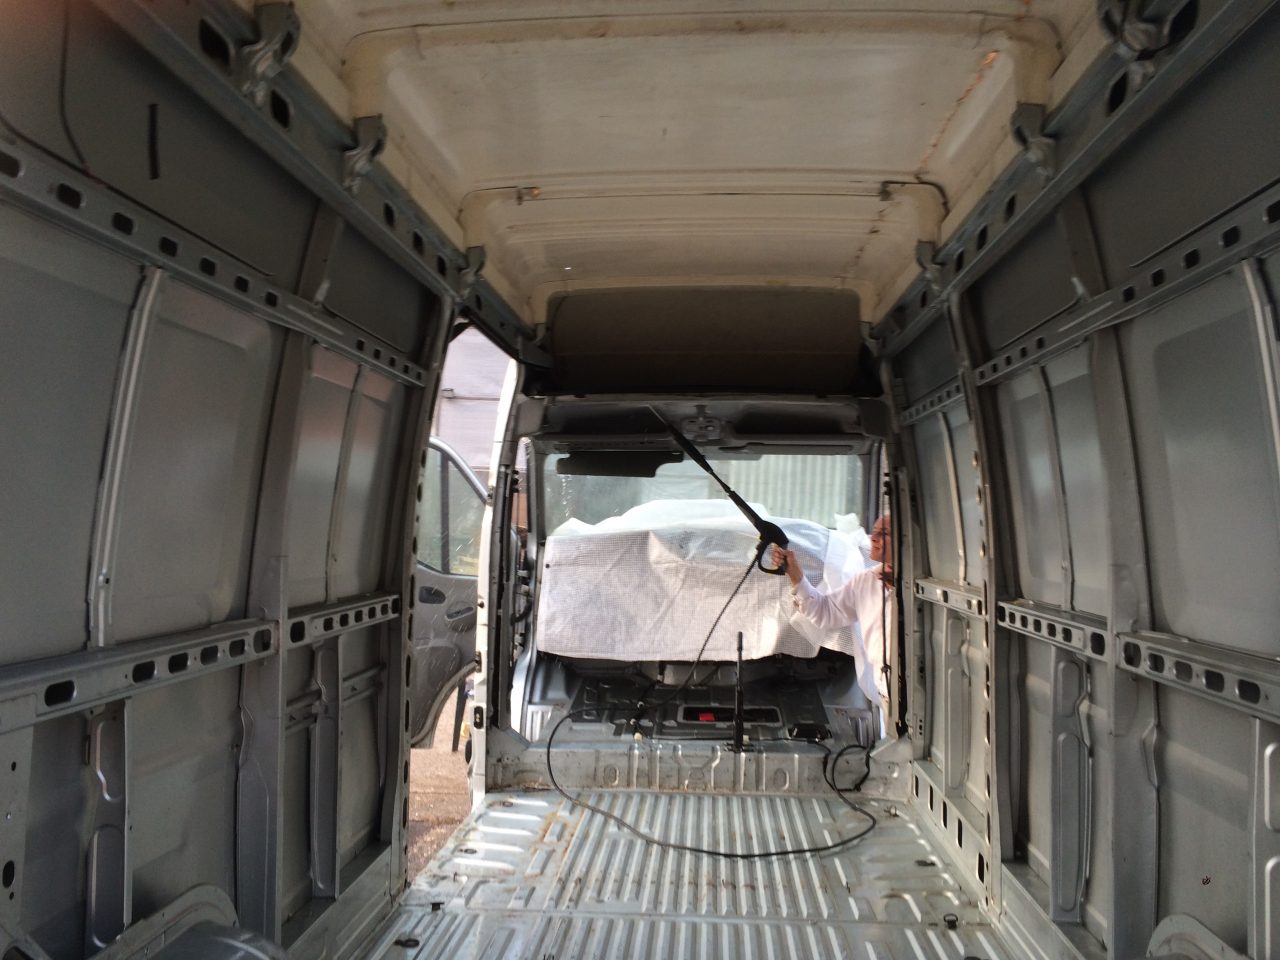
[Note the plastic protecting the dashboard whilst spraying the cab ceiling – it was filthy and stained, but the pressure washer cleaned it up very nicely.]
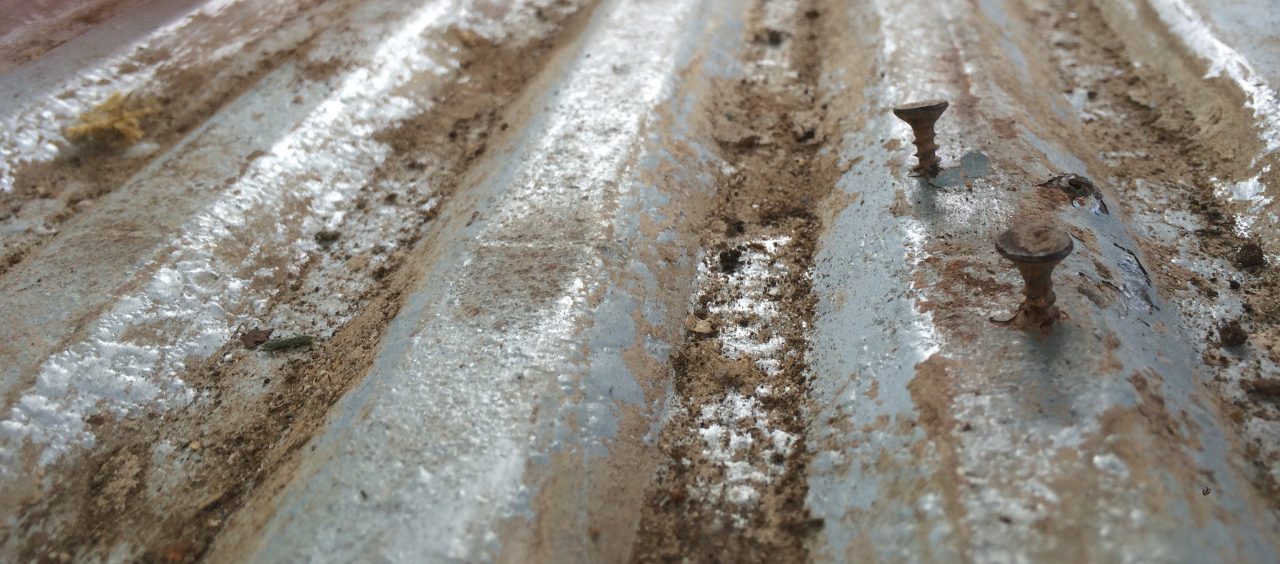
The overall cleaning result was pleasing and I removed several buckets of dirt from the van. The worst part was the floor which was permanently covered in a mix of ‘unremovables’. As I would be covering this (and I couldn’t take anything else off despite my scrubbing), I decided to leave it as it was, hoping that the surface rust won’t develop any further once dry.
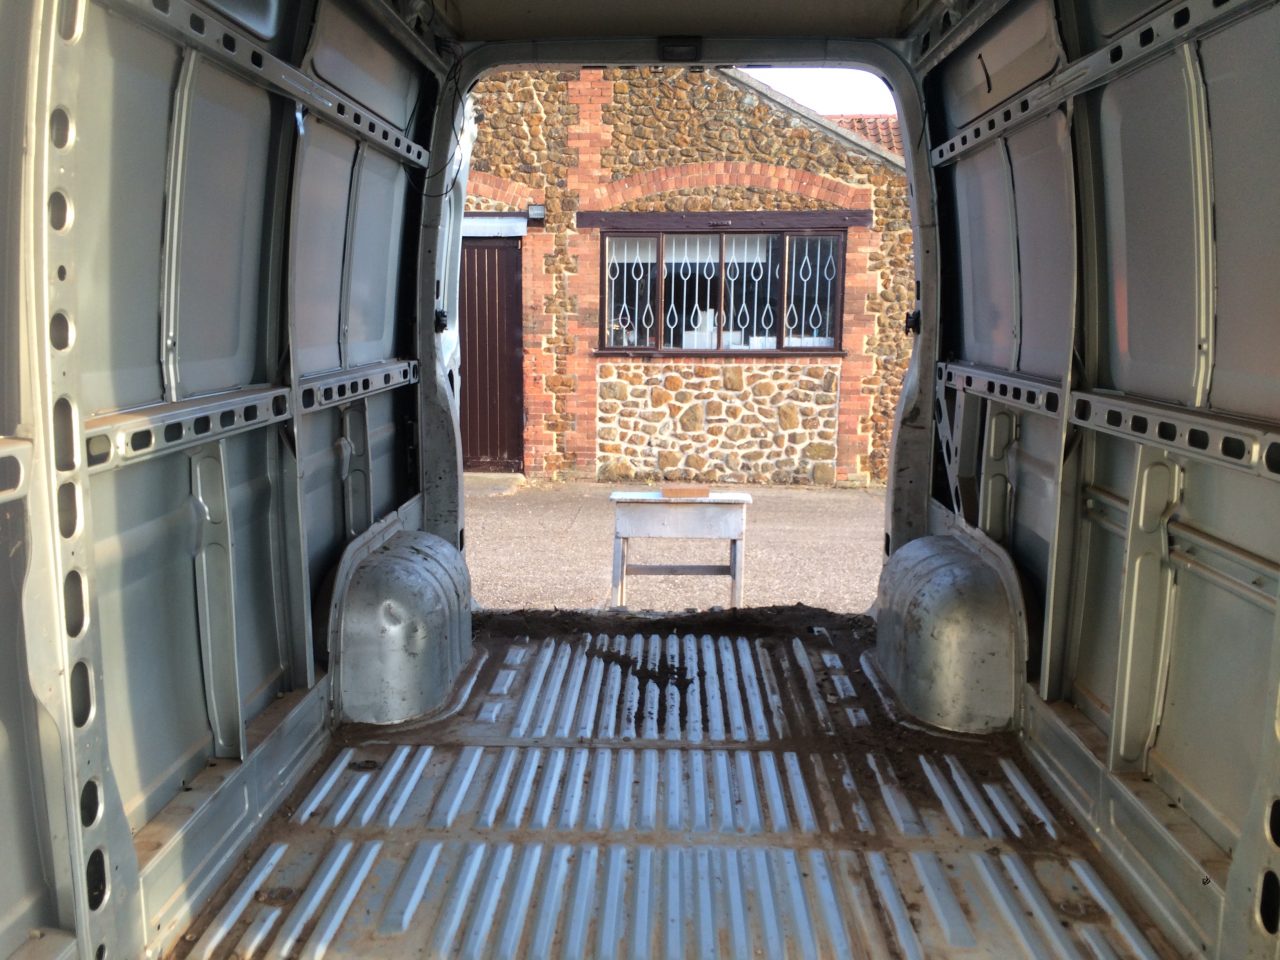
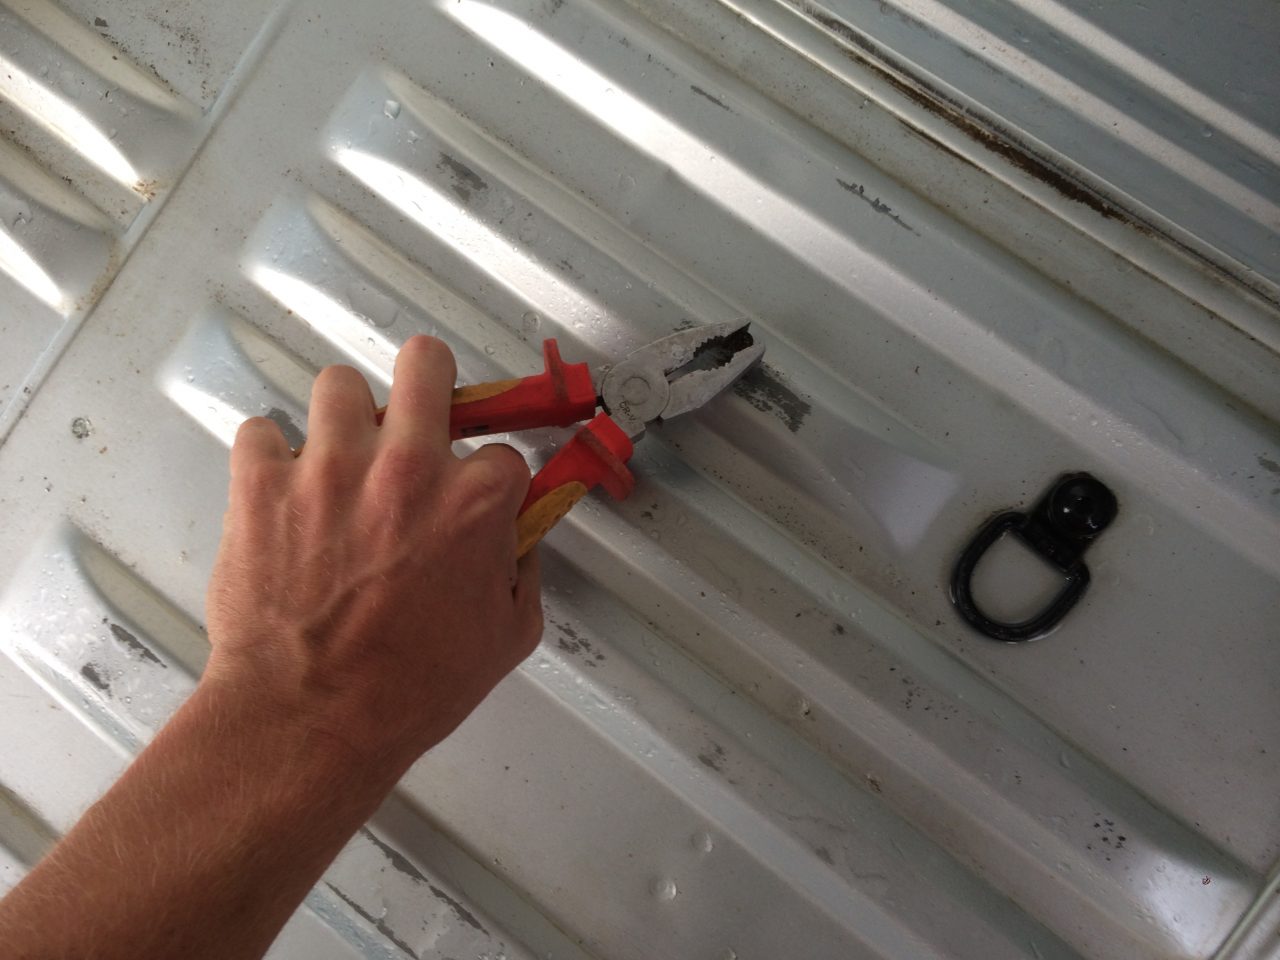
I used a pair of grips to twist out all the rusty screws – pulling them out with a hammer would have left even bigger holes in the floor of the van.
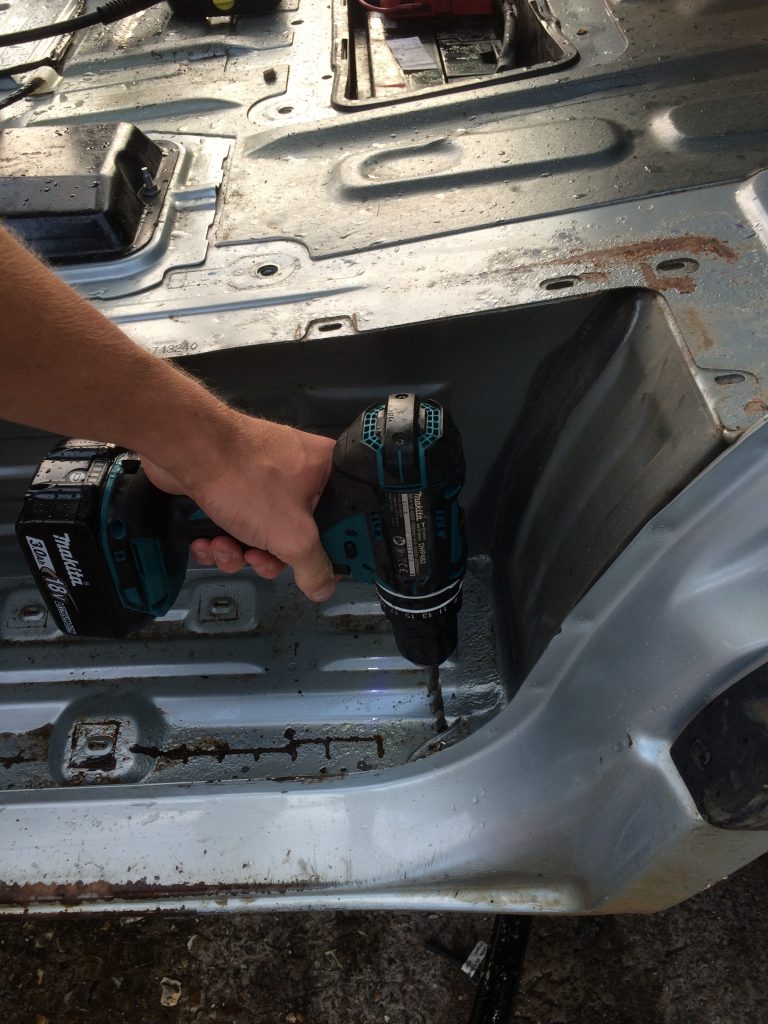
As you can see from the picture above, most of the dirt was gone and the floor was relatively rust-free. The footwells at the side doors were not well designed however, and held water and dirt. I took a drill and made drainage holes at the front and back. This allowed me to clean them out and ensure that they would drain in future.
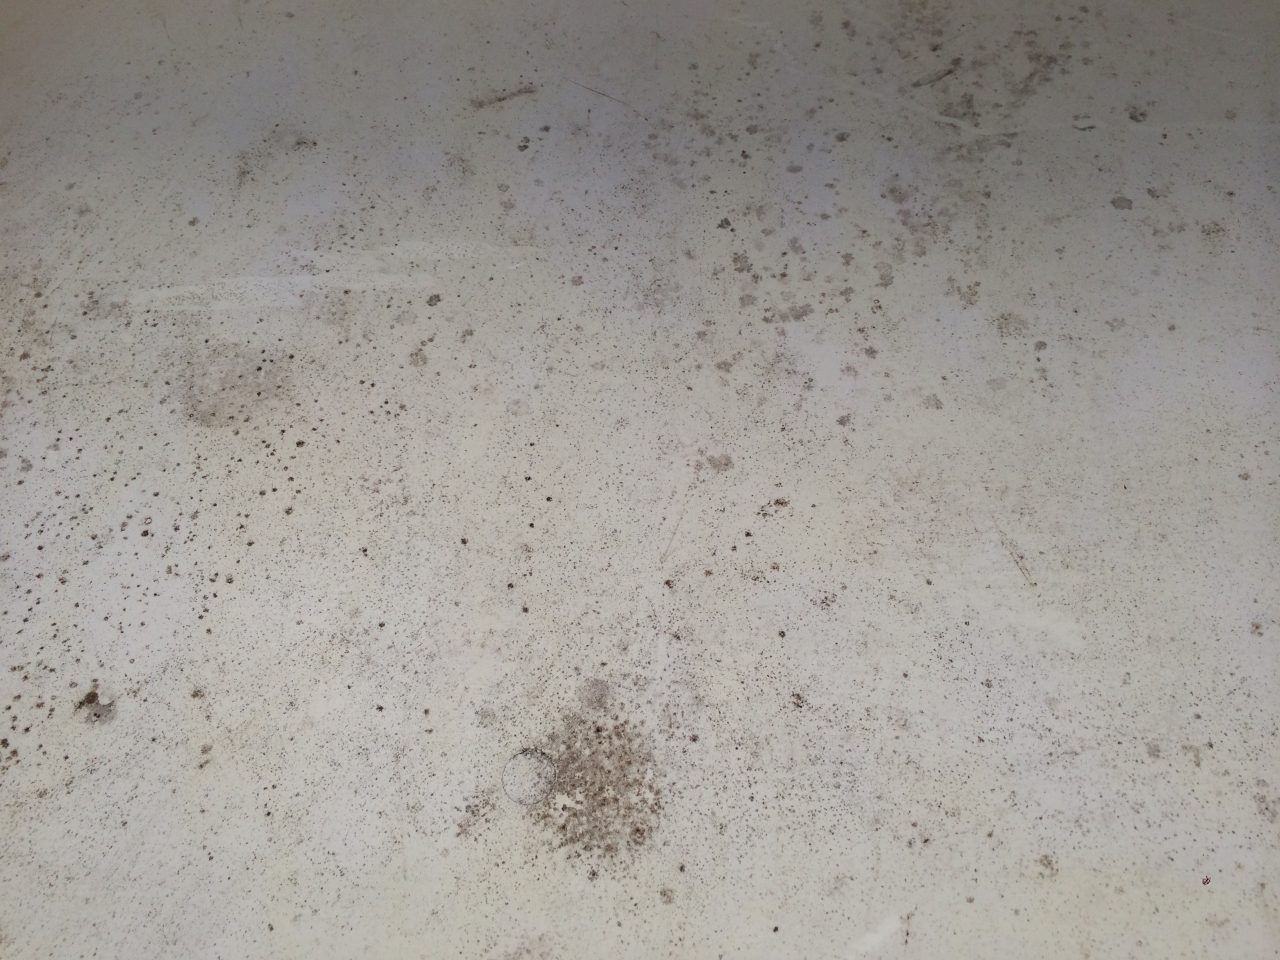
The roof was covered in mould (pictured below), so I took a bucket of soapy water and scrubbed it with a sponge until it was as clean as I could get it.
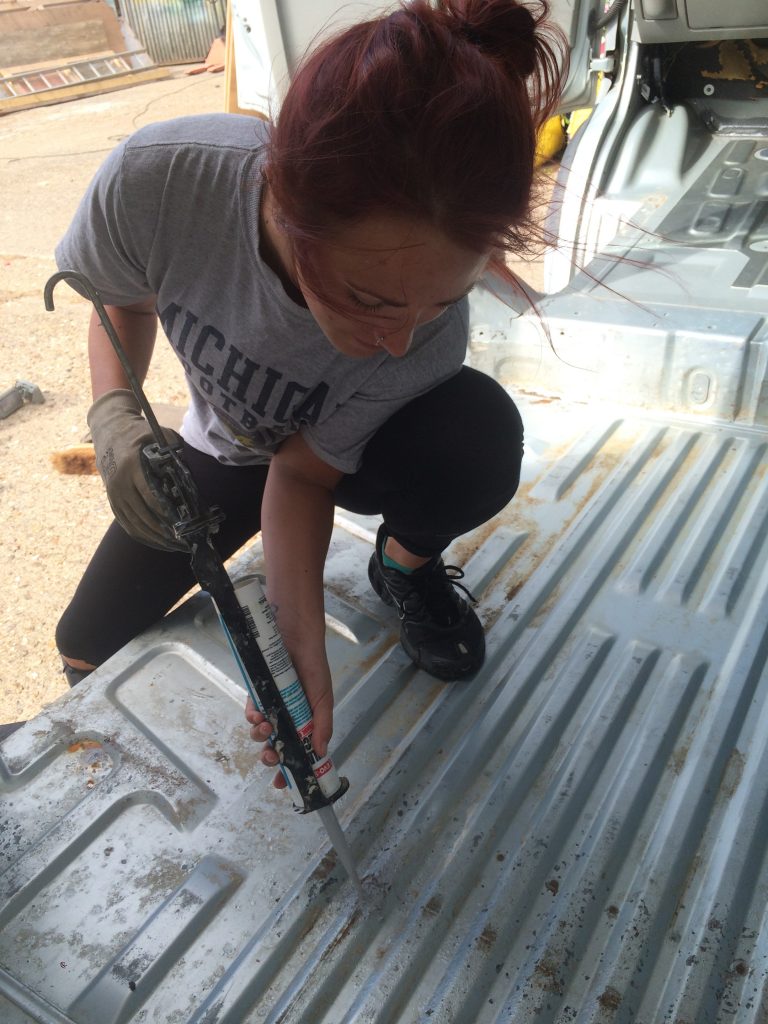
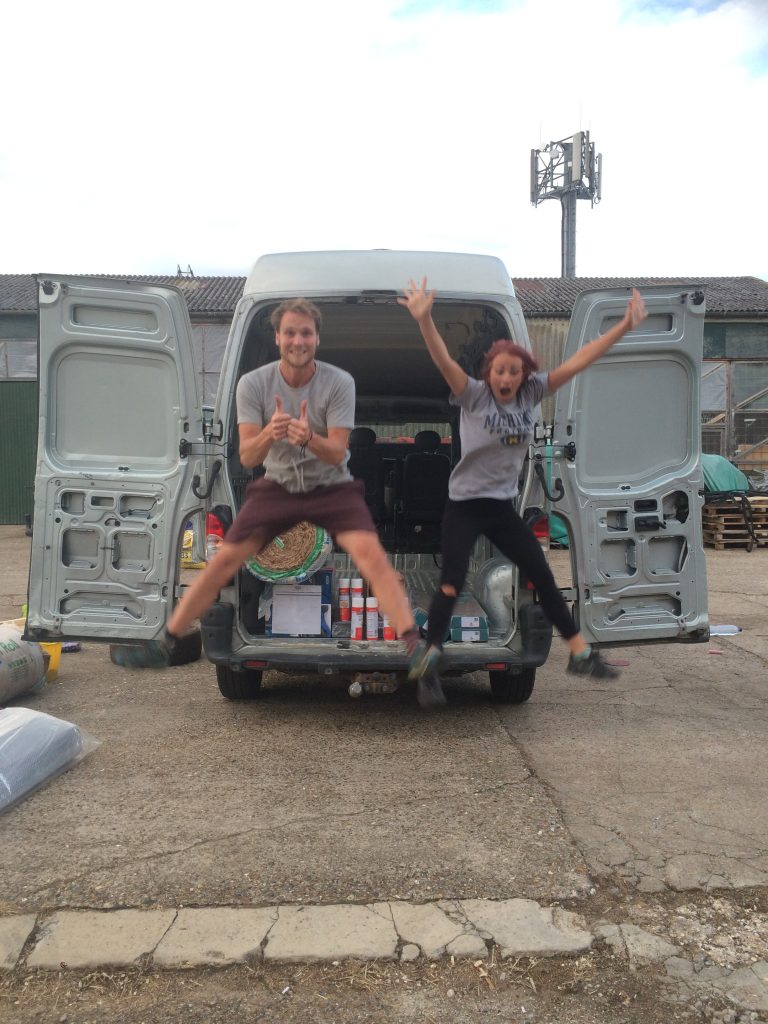
It was at this point that leah returned from America. She wasn’t too pleased about the idea of living in a van, but she got involved and has been working away on the van with me ever since, as we hope to head off to Europe in it very soon.
We used silicone to plug all of the holes in the floor that were left by the screws. By doing this, I hope that spray from underneath the vehicle won’t be able to penetrate the insulation and flooring that I am putting down.
A few years ago, my little brother attempted to enter a McDonalds drive through, but the van was too tall for it. Unfortunately it ripped great tears down the length of the van which were crudely covered with fibreglass.

As I can’t be having any leaks in the van, I recovered the affected areas with new fibreglass (not pictured).
We used a combination of pressure washer and upholstery cleaner to get the seats as presentable as possible. There are a few rips in them and we may cover them, but they’ll do for now.
With all of the cleaning work done, the building could now begin. It took a couple of days, but I’m glad we took the time to clean it out as well as we could because we will never again have a chance to clean the van as well as this inside.
I ordered lots of bits for the van conversion and now it is time to begin!
If you’re interested in following along or hoping to do something similar, I will be posting regular updates and advice (based upon my learnings) on Facebook, Instagram, and Youtube – so please Subscribe on Youtube, Like on Facebook, and Follow on Instagram, and we’ll try to figure out this van conversion malarky together.
Next step: building the floor.


Leave A Comment